The HOLO FAN by COOLIFY offers an exciting way to customize your PC setup by projecting dynamic, 3D holographic images. Changing the image on your HOLO FAN is simple and can be done in just a few quick steps. Here’s how to do it:
Step 1:Download the Software
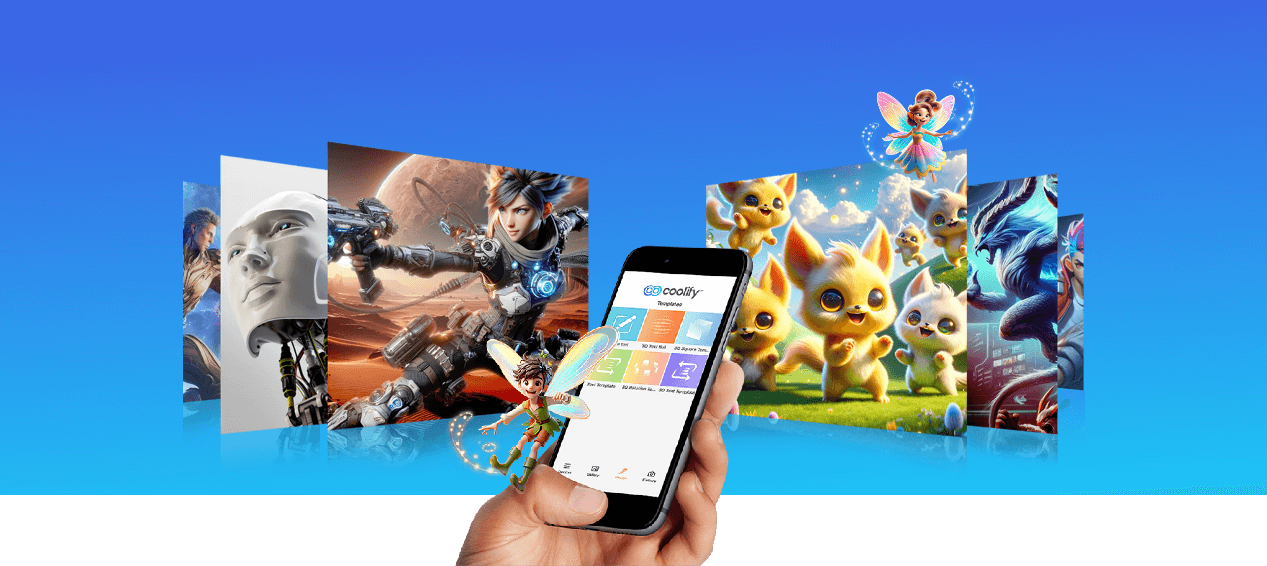
First, ensure you have the HOLO FAN software installed on your phone. You can download it from the official COOLIFY website or from the small card provided with the fan (Android & iOS). Once installed, open the app to access the customization interface.
Step 2:Choose Your Image

In the App, you can either choose from a range of pre-designed holographic images or upload your own. HOLO FAN supports various file formats, including mp4, png, mov & jpg; gif & avi files are not supported. Upload your image, logo, or animation, and the software will automatically process it for hologram display.
Step 3:Sync and Apply
Once your image is ready, connect your HOLO FAN via the wi-fi connections. Use the App to sync the image to the fan, then apply the changes. The fan will now display your new hologram image in real-time as it spins.
Enjoy customizing your PC with unique, floating 3D visuals!
Instagram @killswitch242__